Student Printing
Student printing is available in most computer labs on campus where swipe card readers will deduct money from your University Card (UCard) to pay for printing. Before you can print, you'll need to register your card with the system following the instructions below. Also, see below on how you can print to lab printers from your personal devices.
UCard Registration
To register your UCard with the printing system:
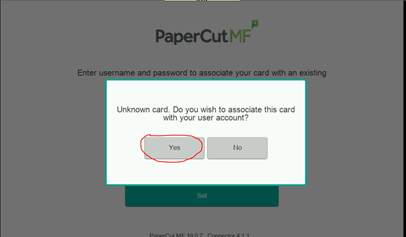
1) Swipe your UCard at the printer.
2) Click “Yes” to associate your card with your account.
3) Enter your NETID (example: a12b345) in the Username box and the Password you use to log into the computers/Canvas in the Password box. Click “Log In”.

4) Click “OK”
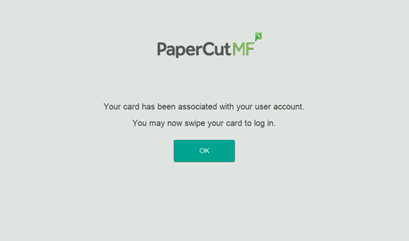
Your UCard is now associated with your account. The next time you print you will only need to swipe your card.
Printing Costs
The following are the costs of printing.
| Color | Black & White | |
| Single Sided | $.15/Page | $.06/Page |
| Double Sided | $.125/Page | $.050/Page |
Student Printer Locations
University Campus
|
|
|
|
|
|
City College
|
|
Wireless/Mobile Printing
The print system allows you to print from your personal devices (computer/smart phones). Below are the instructions on how to connect to and print to the printers. Make sure your device is connected to the MSUB-Mobile wireless network before you begin.
Windows Computer
To enable printing from a Windows computer:
1) Via a web browser, browse to https://msubillings.box.com/v/printanywhere-student.
2) Click on “pc-mobility-print-printer-setup" to download the print driver.
3) After downloading the driver, double click it to start the installation.
4) Select your desired language and click OK to continue.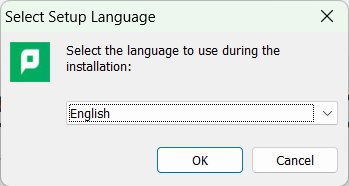
5) Accept the license agreement and click Next.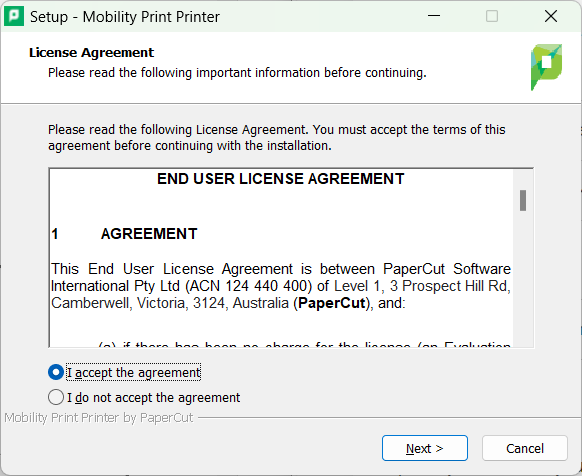
6) On the Printer selection screen, check PrintAnywhere-Student [PaperCut] and then
click Next. ![Select PrinterAnywhere-Student [PaperCut]](/it/software/images/papercut20.png)
Note: PrinterAnywhere [PaperCut] should be unchecked.
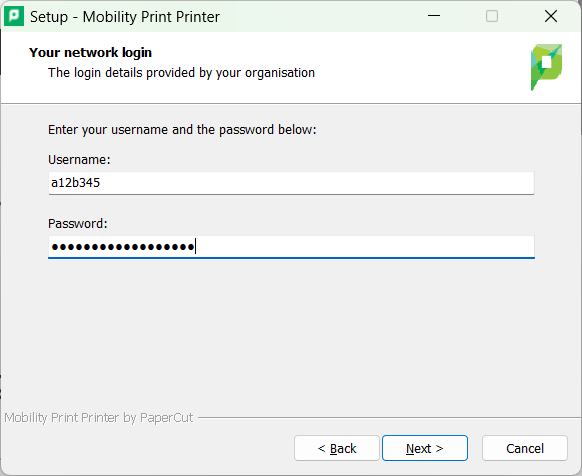
7) Enter your NetID and password and click Next.
Username = MSUB NetID: X##X### (e.g. a12c345)
Password = MSUB email/Canvas/Campus computer login password
8) When the installation completes, click Finish.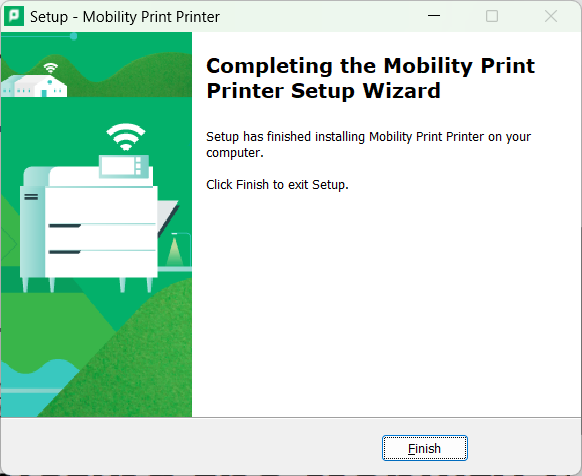
Mac OS Computer
To enable printing from a Mac OS computer:
1) Click on the Apple icon in the top left corner of your computer screen and then select System Preferences..
2) Click on the Printers & Scanners icon.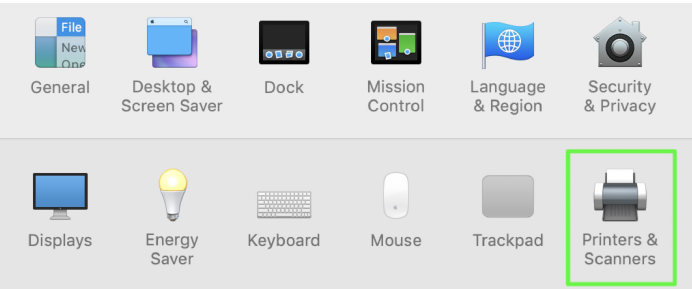
3) Click the + button to add a printer.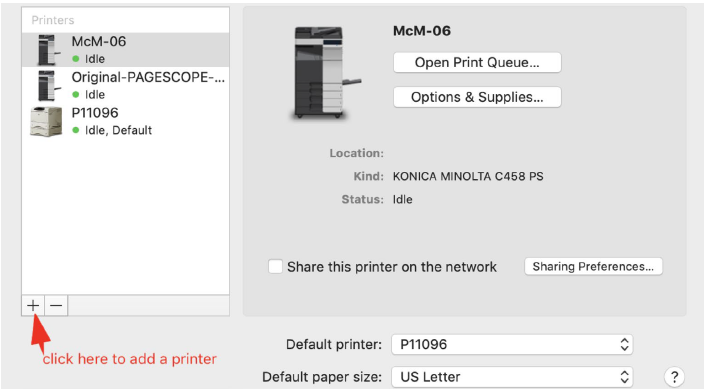
4) Click printanywhere-student and click Add. 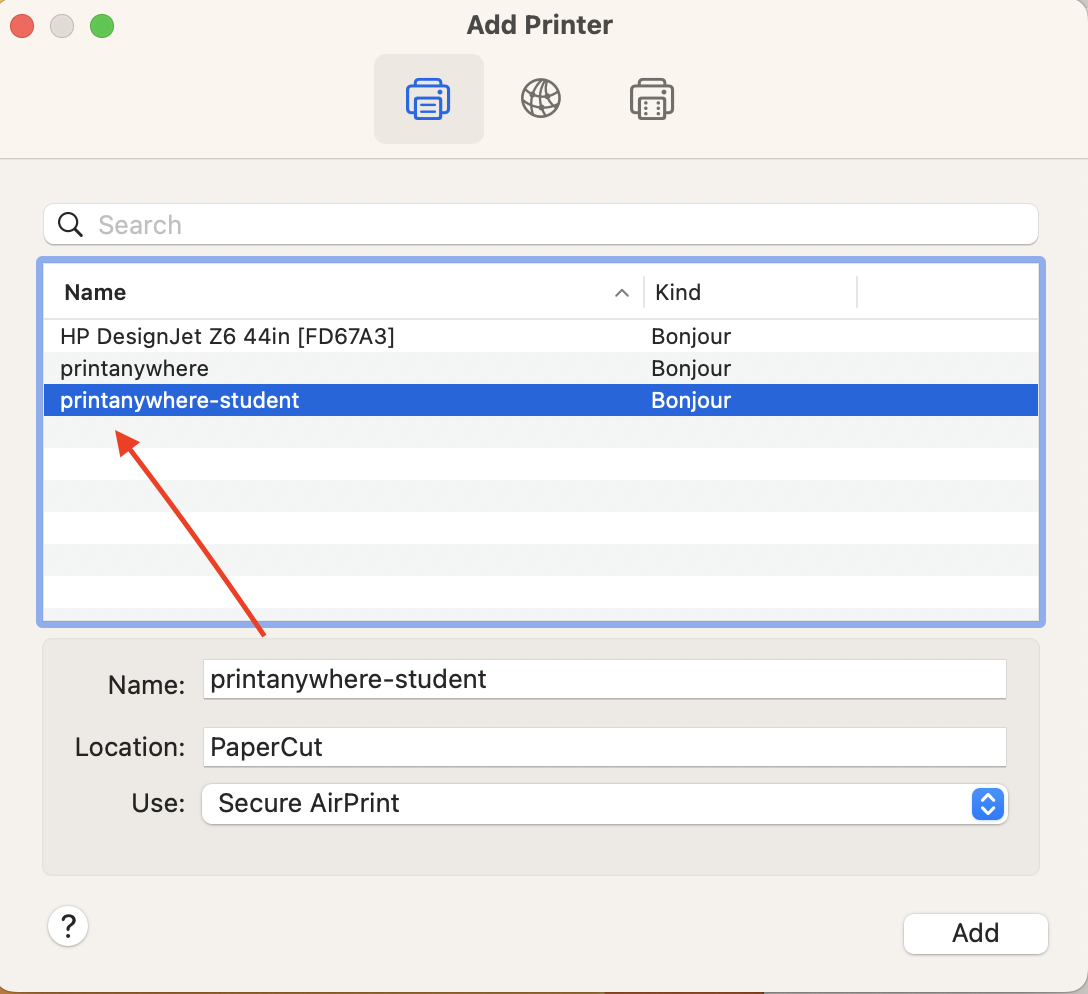
5) The installation process will take a few seconds to complete.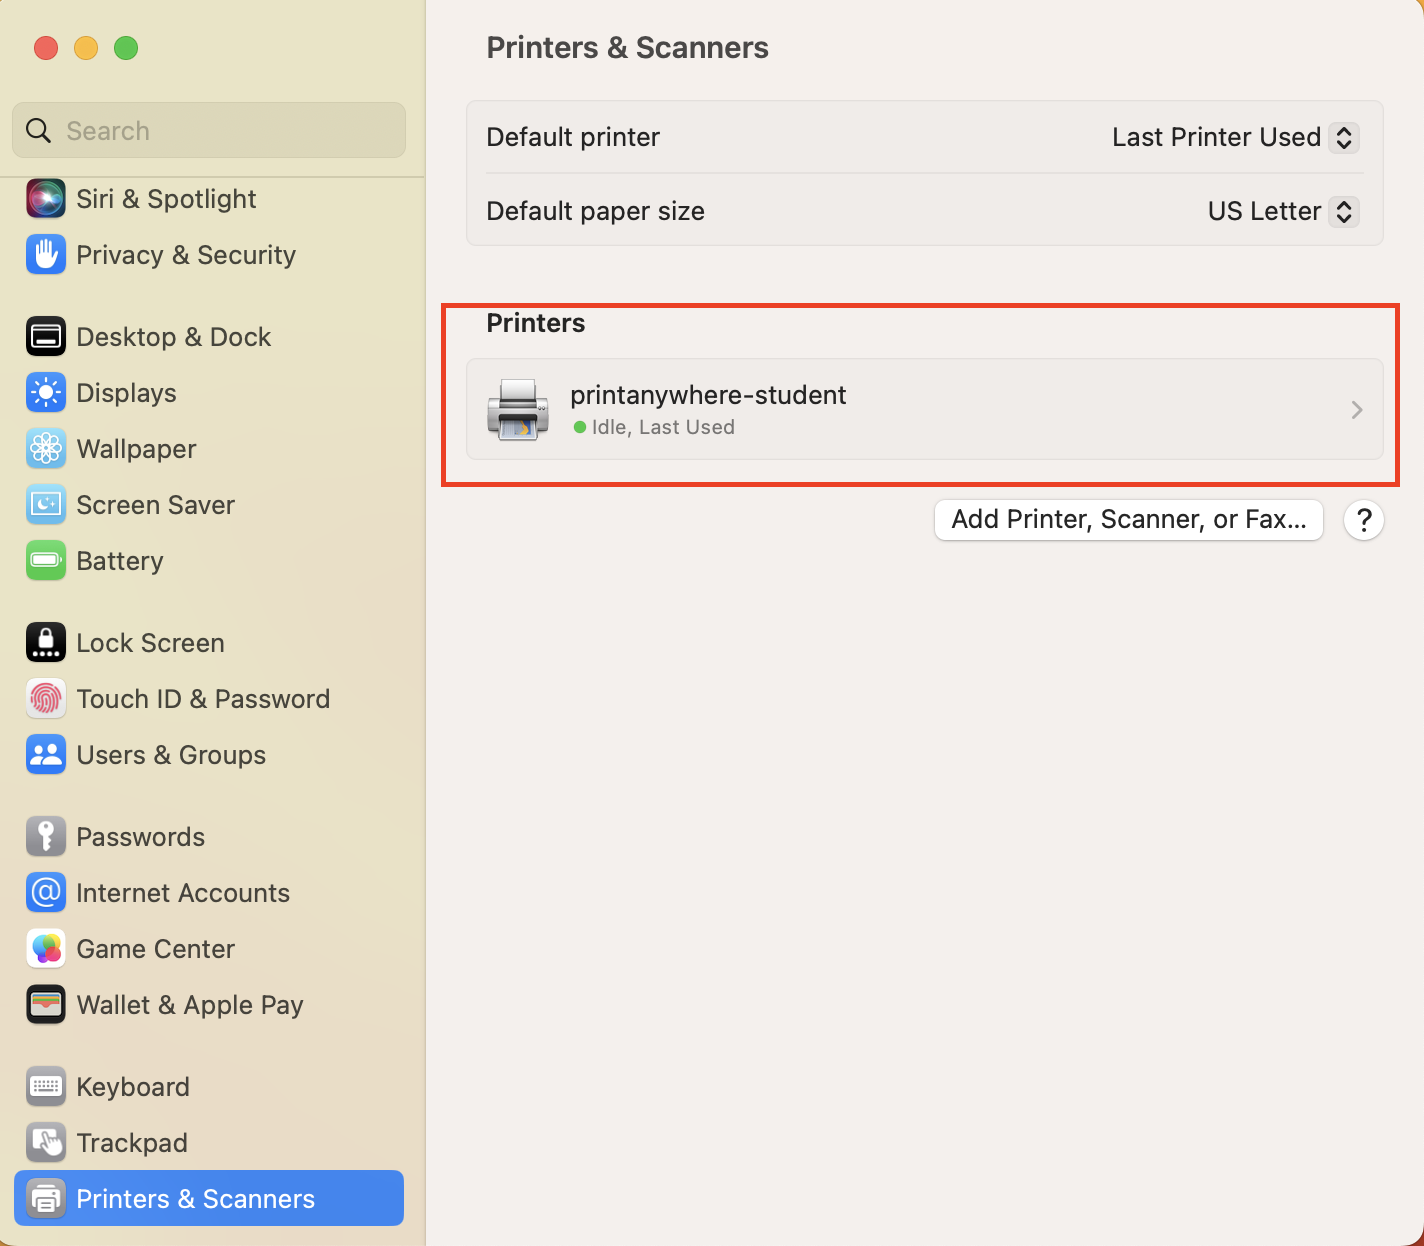
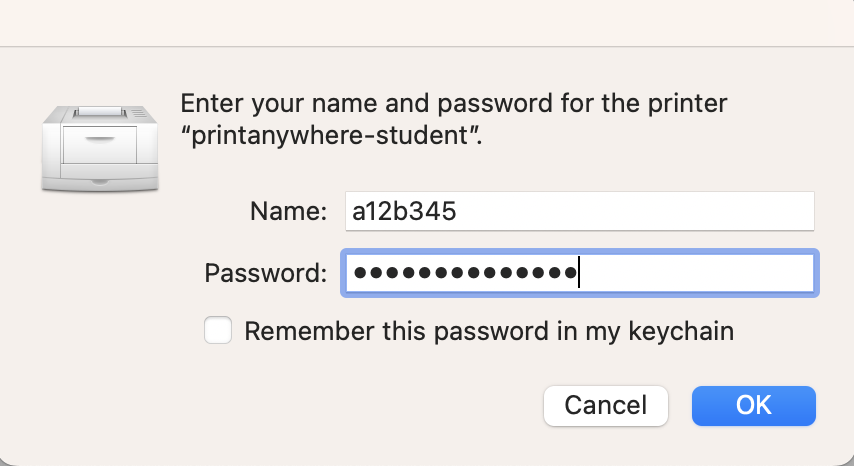
6) When printing to the printanywhere-student printer, you will be prompted for your username and password. Enter your NetID and password.
Username = MSUB NetID: X##X### (e.g. a12c345)
Password = MSUB email/Canvas/Campus computer login password.
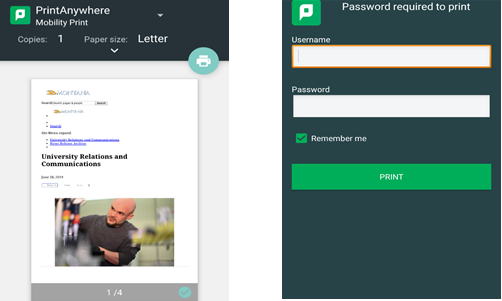
iPhones/iPads PaperCut PrintAnywhere Installation
To enable printing from an iPhone or iPad:
1) From within any document or file on your iPhone/iPad, swipe up to show the context menu and tap the Print icon or tap the share icon (it's the square with the arrow pointing up) in the middle of the screen and then select the printer icon.
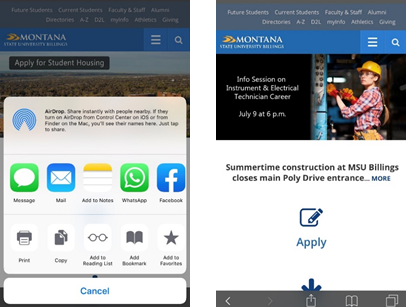
2) On the Printer Options screen, tab Select Printer.

3) Select the appropriate printer.
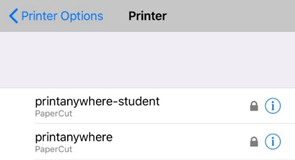
- printanywhere-student (Student use)
- printanywhere (Faculty/Staff use)
4) After selecting the printer, the next window will prompt you for username and password.
-
- Username = NetID
- Password = NetID Password
Android PaperCut PrintAnywhere Installation
To enable printing from an Android device:
1) Open the Google Chrome browser and search for “mobility print”.
2) Click the install button under Mobility Print. Once finished, click Open.

3) Click the Android Settings button and then Mobility Print.
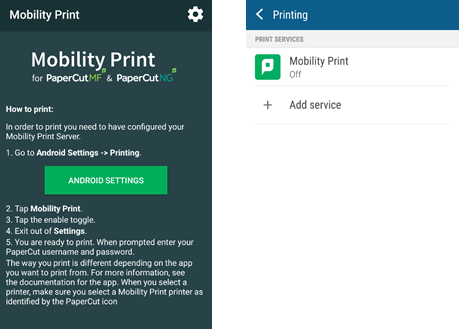
4) Tap on the OFF icon to turn on Mobility Print and then tap on OK to allow the pass through.

5) Mobility Print is now turned on and the available mobile printers will be displayed.
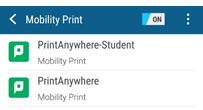
- PrintAnywhere-Student (Student use)
- PrintAnywhere (Faculty/Staff use)
6) To print from your device.
A) Open web browser.
B) Tap on the browser menu icon and then tap on Share…
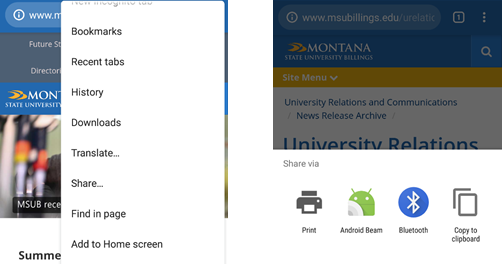
7) Tap on Print and then select the PrintAnywhere or PrintAnywhere-Student printer.
8) Enter your username and password.
- Username = MSUB NetID
- Password = MSUB email/Canvas/Campus computer login password.
Chromebook PaperCut PrintAnywhere Installation
To install the PrintAnywhere printer on a Chromebook:
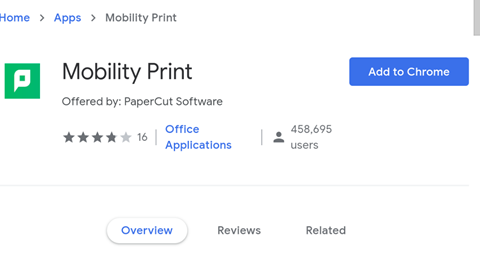
1) Open the Google Chrome browser and search for “mobility print chrome app”
2) Click on Add to Chrome to install the application.
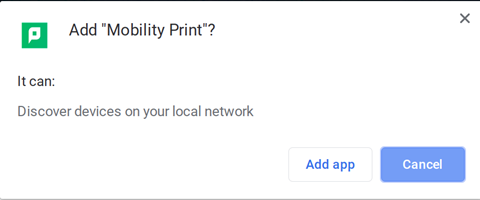
3) Click on Add app to confirm.
4) Click the Launch app.
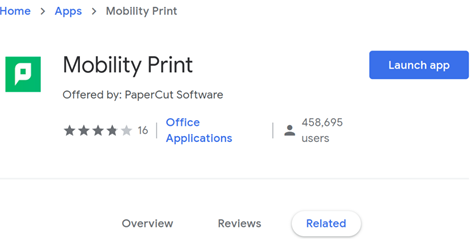
5) Once this is complete, follow instructions on how to print from your device.
- Username = NetID
- Password = NetID Password
Retrieving a Printed Document
To retrieve a document after it’s been sent to a PaperCut printer, log in with your NetID and password (the same username/password when logging into a campus computer or Canvas). This will print page(s).
