Whiteboard
Microsoft Whiteboard is a digital canvas that can be used for digital whiteboarding or collaborating with a team in real time whether team members or classmates are in the same room or in multiple locations. Whiteboard can be used to draw, design, brainstorm, take notes with the ability to archive the collaborative session via a picture of the digital whiteboard. The Whiteboard app is available for Windows and IOS devices or via a web browser for Mac products.
Downloading the App | Using Microsoft Whiteboard | Whiteboard on the Web | Additional Information
Downloading the App
To download the Microsoft Whiteboard app on a Windows computer:
1) Open the Microsoft Store app.
2) When the Store app opens, click the Sign In button located on the upper right corner
of the window and click "Add work or school account." Important: This is required before downloading the Whiteboard app.

3) Sign in using your MSU Billings email address and click Next.
4) Enter your password and click Sign in.
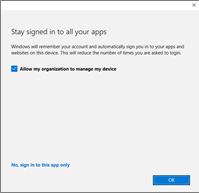
5) When prompted, CHECK the “Allow my organization to manage my devices” option and click OK.
6) On the You’re all set screen, click Done.
7) After signing into the store, click within the Search box and type Microsoft Whiteboard,
and click Enter. Click Microsoft Whiteboard in the search results.

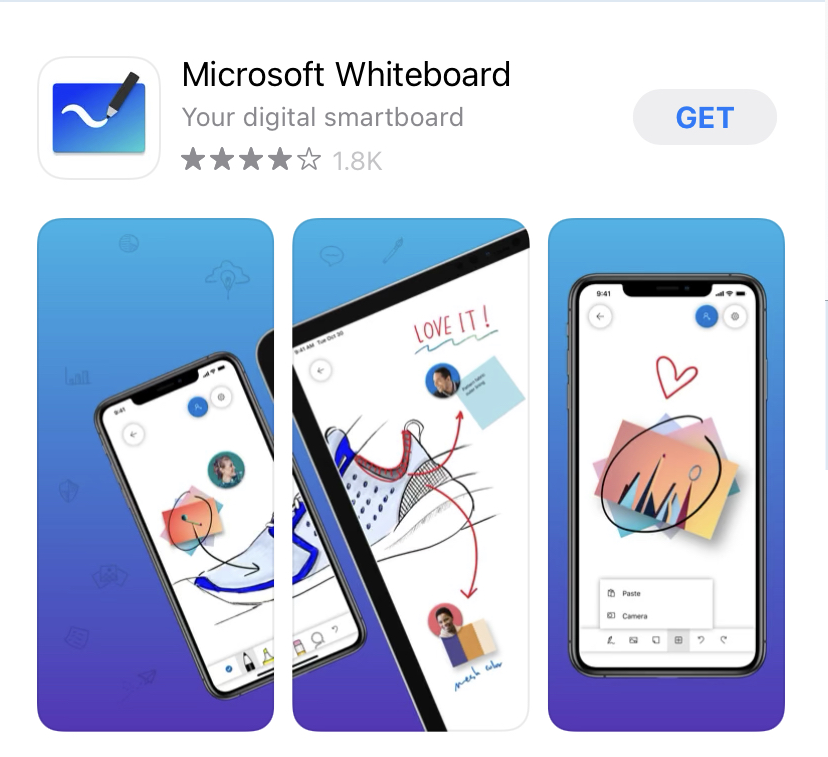
8) Click the blue Get button to install the application.
9) Whiteboard will begin downloading and install.
![]()
10) When finished, click the Open button to start the program.
11) When Whiteboard opens, select your email account and click Continue.
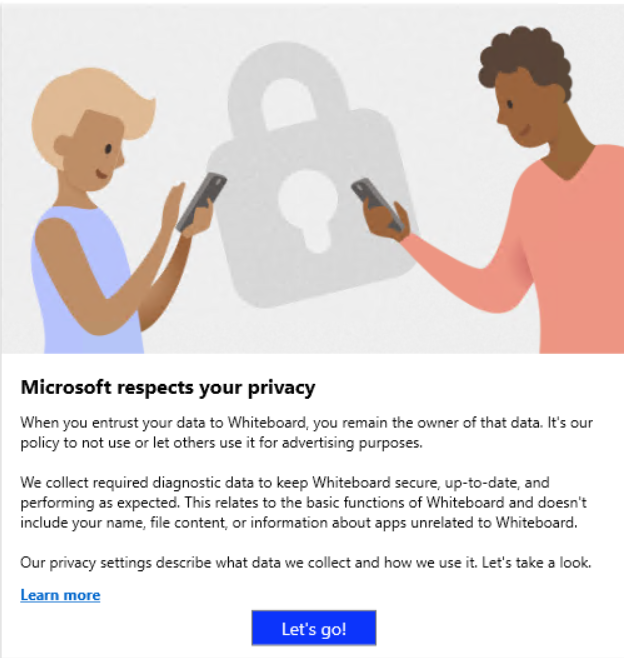
12) After opening Whiteboard the first time, click Let's Go!
Note: Microsoft Whiteboard can also be installed on your mobile device through the Apple
App Store or Android Pay Store.
Using Microsoft Whiteboard
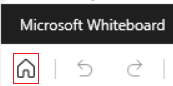
Upon opening Whiteboard, you will be presented with a blank canvas allowing you to begin whiteboarding immediately. Clicking the Home button on the top left corner of the screen takes you to the Whiteboard dashboard where you can access your previous whiteboards.
Whiteboard Dashboard
The dashboard is where you can access previous whiteboards or create new ones. Clicking the New Whiteboard tile will open a new, fresh whiteboard while clicking a previous whiteboard will open the whiteboard from its last state.
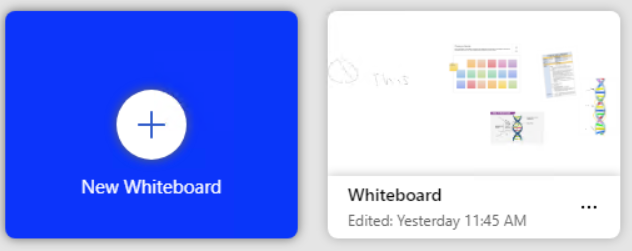
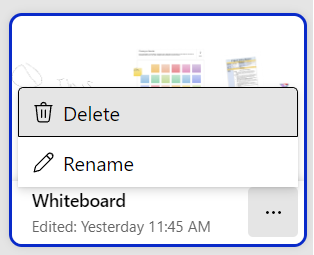
To manage your previous whiteboards, click the three-dot button on the bottom right corner of the whiteboard which will give options to Delete or Rename your whiteboard.
Using a Whiteboard
The Whiteboard app has several menus and buttons within the space.

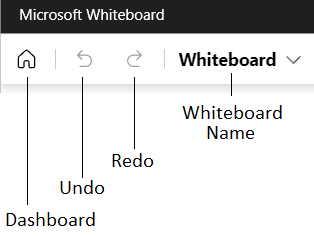
- Dashboard - Returns you to the whiteboard dashboard.
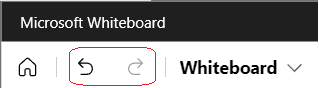
- Undo - Undo's a change made to the whiteboard.
- Redo - Redo's a change made to the whiteboard.
- Whiteboard Name - Allows you to change the name of the whiteboard.
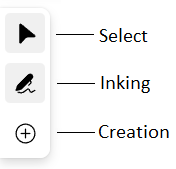
- Select - Allows you to move around the whiteboard with your hand.
- Inking - Digital writing mode.
- Creation - Add elements to the whiteboard.
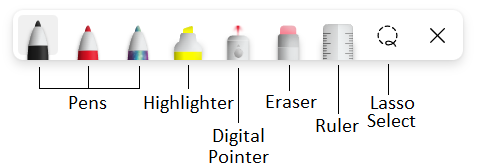
- Pens - To write on the whiteboard.
- Highligher - To highlight text or images on the whiteboard.
- Digital Pointer - To call attention to something on the whiteboard.
- Eraser - To erase content on the whiteboard.
- Ruler - To draw straight lines and angles.
- Lasso Select - To select text or images.
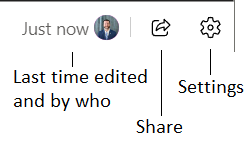
- States the last time the whiteboard was edited and by who.
- Share - Shares the whiteboard with someone via email or link.
- Settings - Whiteboard settings.
Whiteboard Toolbar
Inking Mode
In inking mode, you will be able to use your stylus, mouse, touchscreen enabled device, or drawing tablet to write on the digital whiteboard.
![]()
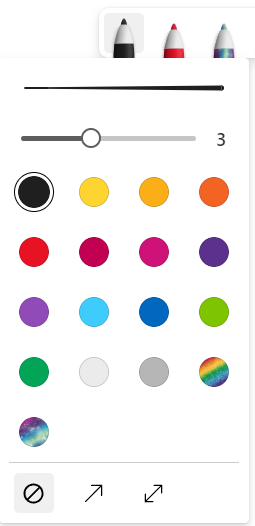
By clicking the Inking button, Whiteboard provides various colored pens, highlighters,
a laser pointer, an eraser, a ruler, and the Lasso select tool.
![]()
Double click or on touch devices press and hold on a pen or highlighter to get even
more options for pen width and color.
Laser Pointer Tool
The laser pointer provides a red dot that can be used to draw attention to an area of the whiteboard and draw temporary lines.
Eraser Tool
The eraser tool is used to erase the digital ink on the whiteboard. Click and drag the eraser square to erase the ink.

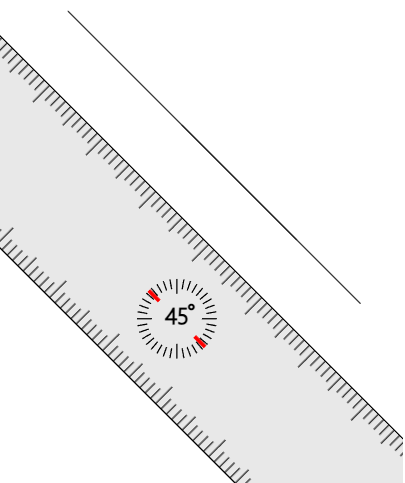
Ruler Tool
The Ruler is used to draw straight lines and can be used to create angles.
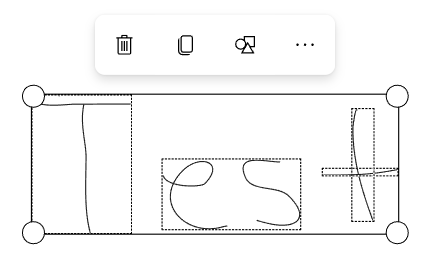
Lasso Tool
The lasso tool is used to select inking or objects and then provides a menu for additional options. These options include Delete, Copy, Convert to Shapes, or Lock.
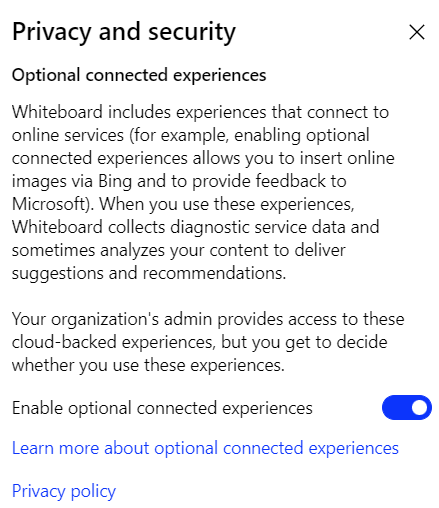
Important: If you get the following error message, click the Settings button and then Privacy and security. On the Privacy and security screen, toggle the option that says, "Enable optional connected experiences."
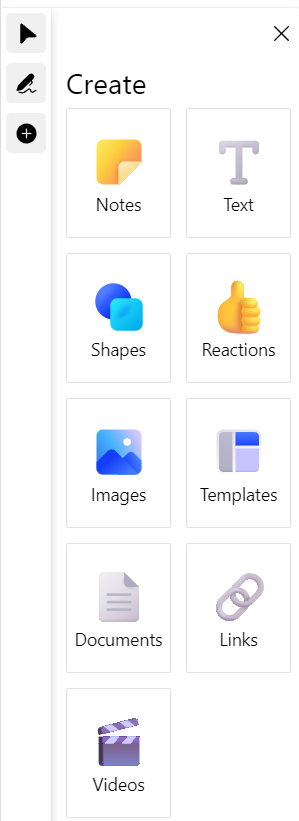
Create Menu
The Create menu lets you add content to the whiteboard such as notes, text, shapes, reaction icons, images, templates, and insert documents.
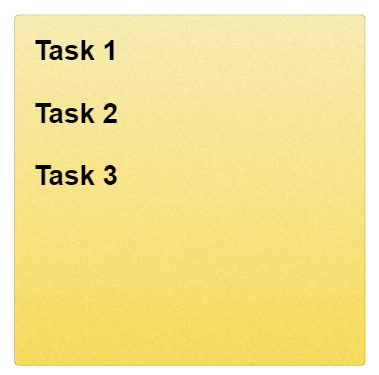
Add a Note
Clicking the Notes button allows you to add sticky notes to the Whiteboard. You can select from a variety of colors or a grid pattern. You can write or type text directly into the note.

After placing the sticky note, you're able to click and drag the note to move it around
the whiteboard to reposition it. Additionally, clicking on the note will open a menu
with more functions.
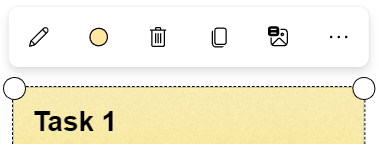
These options include:
- Edit the note.
- Change the background of the note.
- Delete the note.
- Copy the note.
- Add Alternate text to provide more information for screen readers.
- Send the note in front of or behind other objects on the whiteboard.
- Lock the note in place.
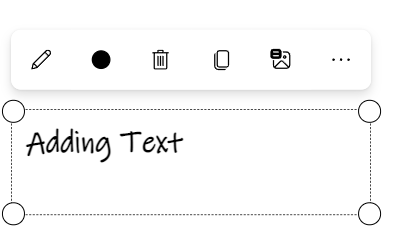
Add Text
Clicking the Text button allows you to add text on the Whiteboard via the keyboard in addition to handwriting. The text menu also lets you change the text color, delete the text, copy the text, add alt text, or send the text in front of or behind other objects on the whiteboard.
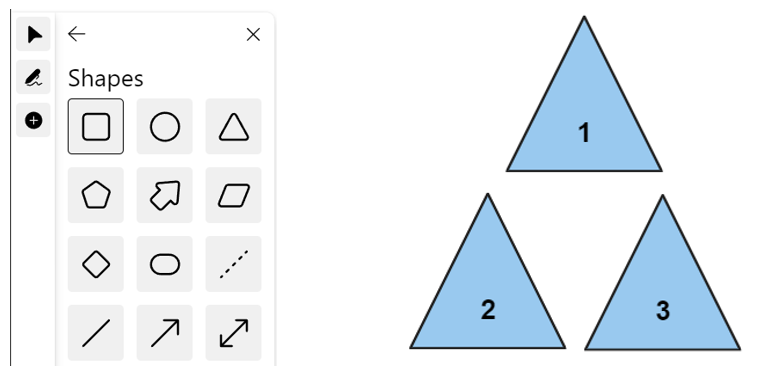
Add Shapes
To add shapes to the whiteboard, click or tap the Shapes button and then click or tap the type of shape you want to add to the whiteboard. The shapes can be selected, resized, and moved around the whiteboard while also having text added to them.
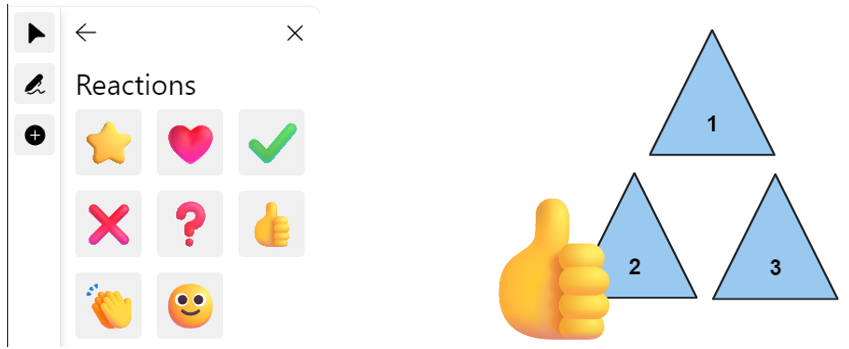
Add Reactions
To add reactions to the whiteboard, click or tap the Reactions button and then click or tap the type of reaction you want to add to the whiteboard. The reactions can be selected, resized, and moved around the whiteboard.
Add Image
To add an image to the whiteboard, click or tap the Images button to either insert an image from your computer or insert an image from Bing Search. When an image is inserted, it can be clicked and dragged around the whiteboard to the desired location. Also, clicking or tapping the image will bring additional options.
![]()
The additional image options include:
-
- Delete the picture.
- Copy the picture.
- Add Alternate Text to the picture to provide more information for screen readers.
- Send the image in front of or behind other objects on the whiteboard.
- Lock the image in place.
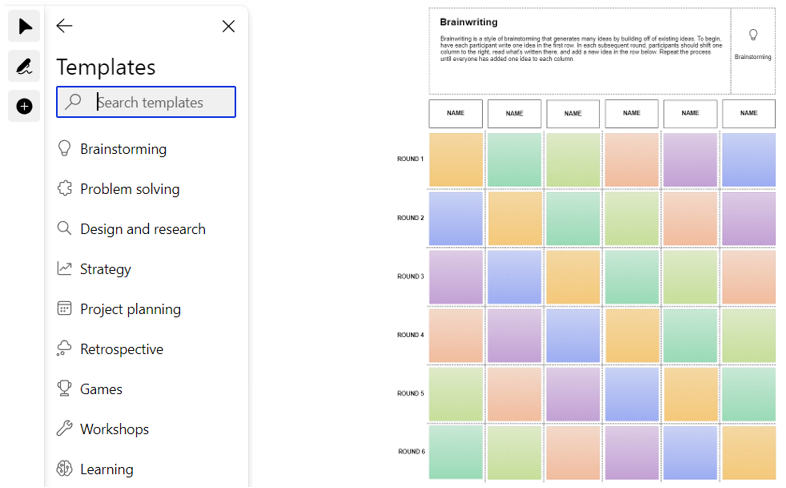
Whiteboard Templates
Quickly set up your whiteboard with discussion objectives using one of the 60+ Whiteboard templates. Whether you’re leading a discussion for brainstorming, problem solving, or team bonding, you can easily use template search in the create panel.
Insert Documents
To add a PDF document to the whiteboard, click or tap the Documents button. PDFs can be selected from your computer or your OneDrive account.
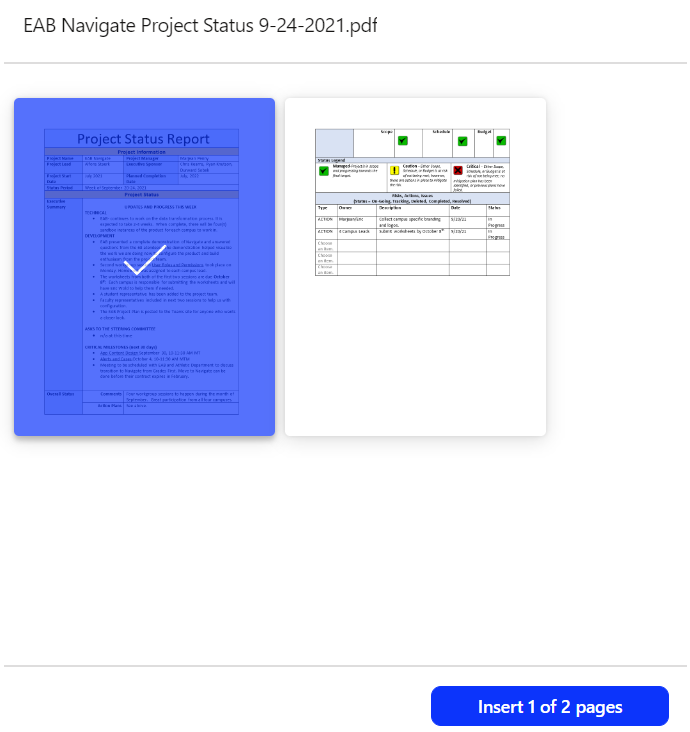
When inserting a PDF document, you'll be presented with the option to insert the entire
document or certain pages. When imported, the pages become images and can be moved
around the whiteboard, resized, or locked to the background.
Insert Links
To add a link to the whiteboard, click or tap the Links button and type or paste the link into the Insert Link window.
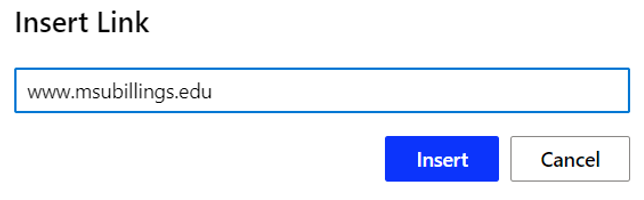
An interactive link will be added to the whiteboard.

Insert Videos
To add an embedded video to the whiteboard, click or tap the Videos button and type or paste the link into the Insert Link window.
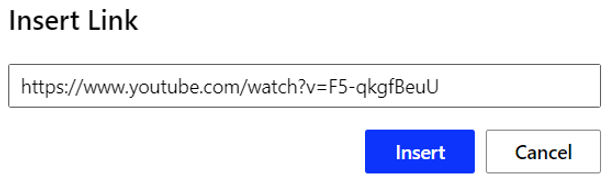
An interactive link to the video will be added to the whiteboard. The video can be played from within the whiteboard.

Undo & Redo
The undo and redo buttons are used to quickly correct mistakes or undo deletes and other formatting changes very similar to how they work in Word.
Settings Menu
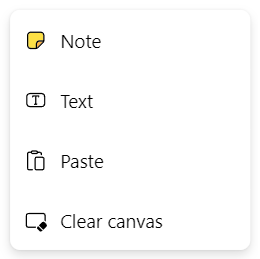
Right clicking or tapping and holding on the whiteboard white space will bring up a menu comprised of the various functions from above. This menu consists of the frequently used options and allows for quick access for repeated use or clearing the canvas.
Inviting Others to a Whiteboard
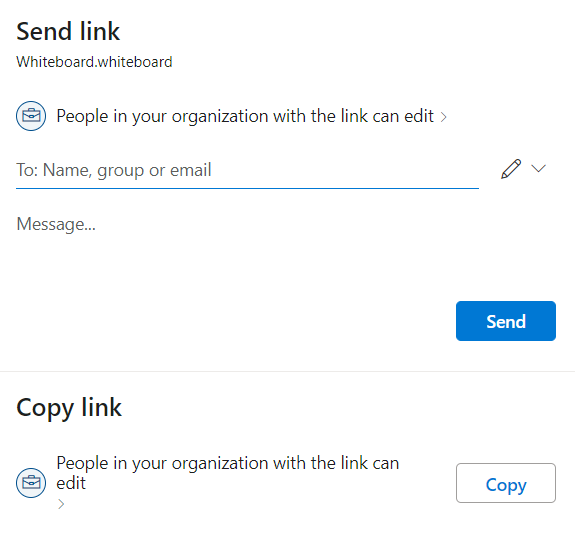
You can share the whiteboard with others by clicking the Share button located on the upper right corner of the screen.

After clicking the Share button, you have two options to share the whiteboard via an email or a link. Links can be posted in D2L or on a website.
Sharing your whiteboard allows you to collaborate with other users in real-time on the whiteboard you have open. As someone writes on the whiteboard, it'll show up live on the viewer's screen. Note: If the whiteboard is deleted, the users invited to collaborate will no longer see the whiteboard.
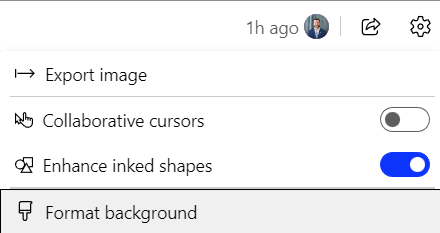
Exporting the Whiteboard
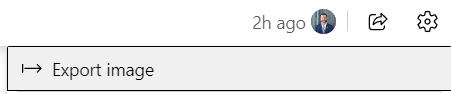
After you've completed your work on the whiteboard, it can be exported as an image file for posting into D2L or elsewhere online. To do so, click the Settings Menu button on the top right corner of the screen and click Export image.
The two export options include Standard resolution or High resolution images. The High resolution image can be used for large whiteboards that allows the resolution to be kept even when zooming in.
Once the image has been exported, you can post it to D2L, email it, or share it online. This is a great way to archive your whiteboard session for review all semester long.
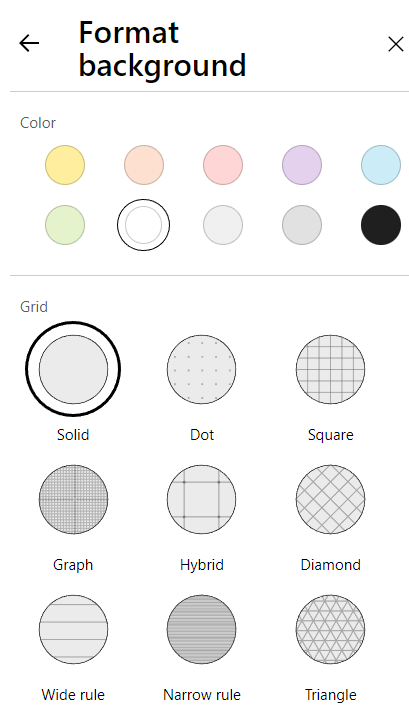
Whiteboard Backgrounds
The whiteboard has multiple backgrounds to choose from in additional to the blank white canvas. To change the background, click the Settings button and then click Format background. You'll be able to add dots, squares, or other grid like options to the whiteboard.
Whiteboard on the Web
Microsoft Whiteboard via a web browser is the only available option for Apple computer products; however, it can also be used from a Windows computer. To use Whiteboard via a web browser:
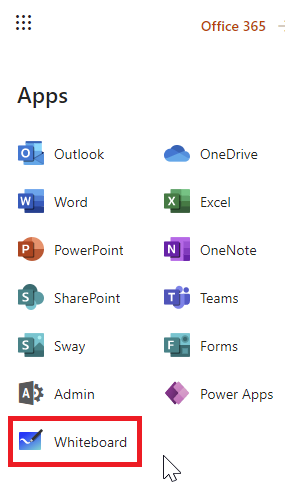
1) Log into the Office 365 Portal.
2) Click the nine dot button on the top left corner of the screen and click Whiteboard. If you don't see Whiteboard, click the All apps button.
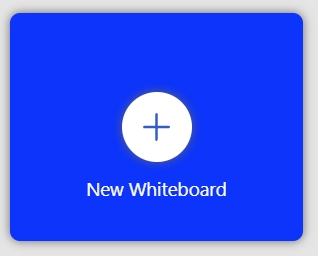
3) Click the Create new Whiteboard tile to create a new whiteboard or click a previous whiteboard to open it.
4) When a whiteboard is created or opened, you can draw using either your mouse or
touch device similar to the desktop app.
Additional Information
For further information about Microsoft Whiteboard visit Microsoft's Whiteboard Help site.