Microsoft FindTime
Ever spend more time deciding when to meet than actually meeting? Microsoft FindTime is here to solve the problem. FindTime is a polling application that helps find common availability among your meeting attendees. Scheduling a meeting is done in three easy steps:
1) Find the best times: FindTime shows what days and times work the best for you and the attendees.
2) All attendees vote: Propose your selected times to all attendees and allow everyone to vote and quickly come to a consensus.
3) The meeting is scheduled: FindTime sends out the meeting invite on your behalf based on the polling information.
Use the following links to learn more about FindTime.
| How to Install FindTime | Accessing FindTime | Using FindTime | Filling Out the Poll |
To install FindTime:
1) Visit FindTime.
2) Click the Install for free button.

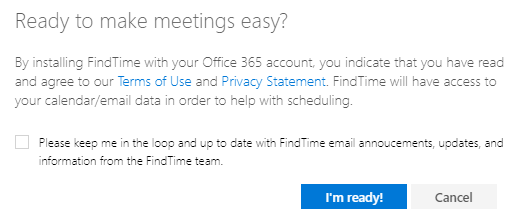
3) Choose whether to join the mailing list for updates to FindTime and click the I'm ready! button.
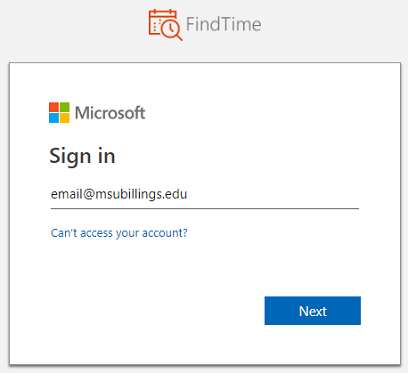
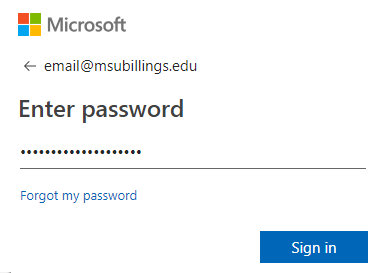
4) You'll then need to log into your Office 365 account by logging in with your MSUB email address and the password you use for your computer or D2L. After entering the information click the Sign in button.
5) FindTime is now installed. Close Outlook and reopen it to complete the installation.

Accessing FindTime
After restarting Outlook, a FindTime section will be added to the ribbon in Outlook and in the ribbon of the new message window.
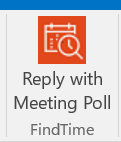
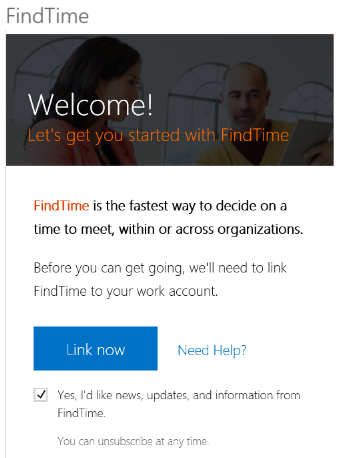
Clicking the Reply with Meeting Poll button the first time will ask you to link your app to your Office 365 account. Choose whether to received news updates and then click the Link now button.
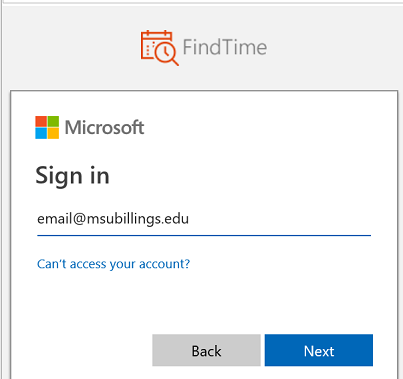
If it doesn't already detect your account, enter your MSUB email address and password.
FindTime will then log you in and connect to your calendar.
Using FindTime
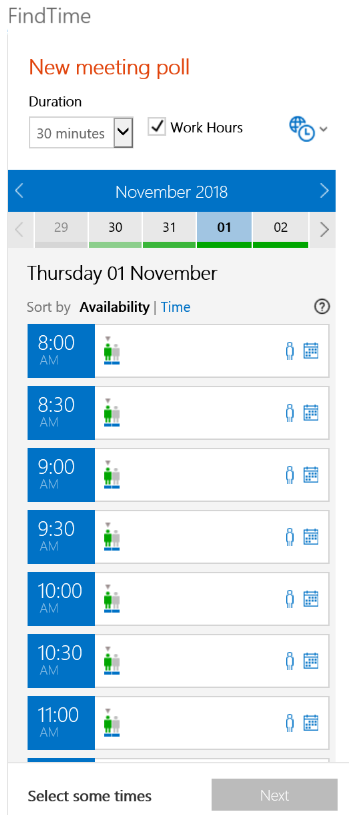
To begin a poll to find the best meeting time, click the FindTime button in the ribbon
of Outlook or in the new message window. Next, select the times that you're available
and click Next.
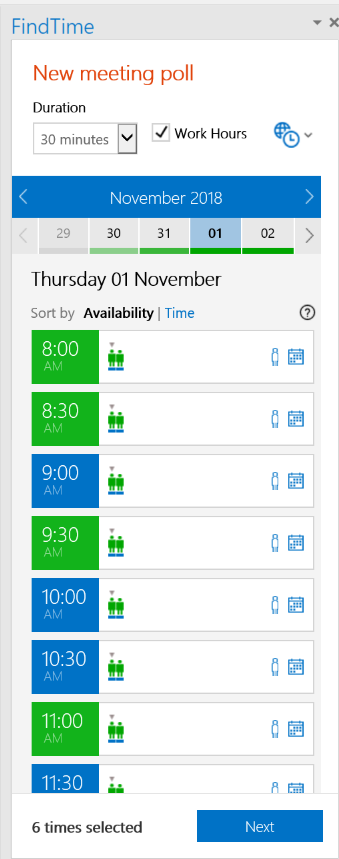
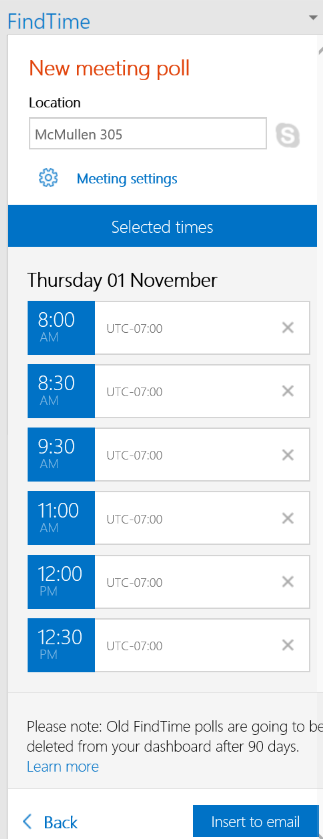
The selected times will then be displayed. Enter a meeting location and then after verifying the times are correct, click the Insert to email button.
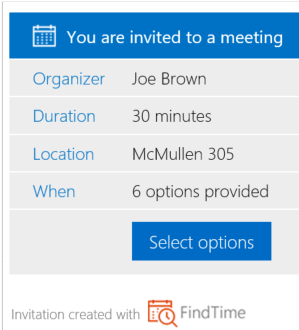
The poll will then be added to an email so you can send it to your meeting attendees.
Filling Out the Poll
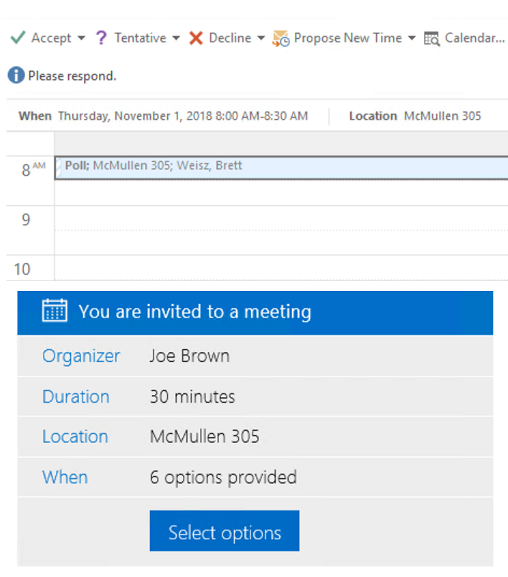
After sending the email, each recipient will receive an email with a link to taking the availability poll. From within the email, click the Select options button to get started. You'll first be asked to identify yourself. Click your name in the list.
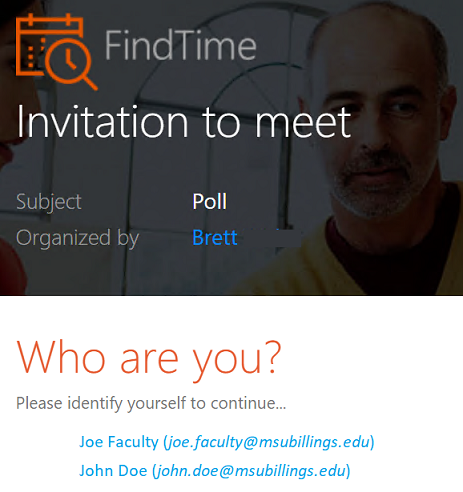
Next, you'll be asked to vote on the times you are available by clicking the Yes or No buttons. You can also click the Prefer button to indicate your preferred time availability. After voting on the times, click the Submit button.
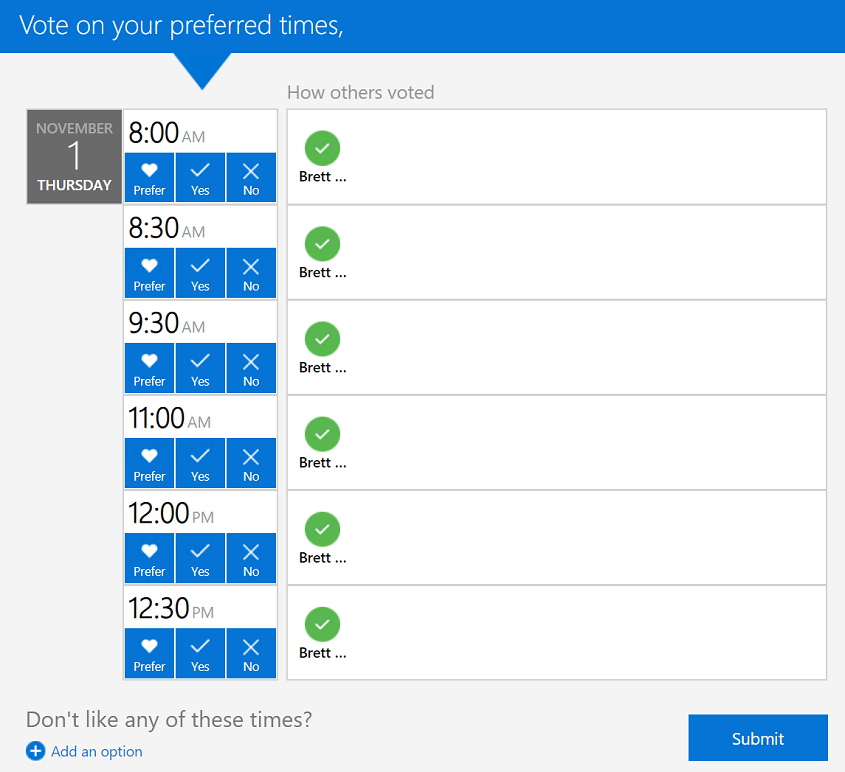
Your votes are then submitted for the system to analysis.
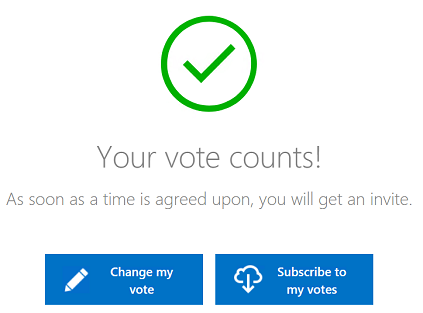
The system will then review all of the votes and schedule a meeting based on the collective availability of all the attendees. Each recipient will receive a meeting invitation via email to the scheduled meeting allowing them to add it to their calendar.
