To start, login to Webex from the website, the desktop app, or the mobile device app. You can host your meeting
from any of these sources, but you must be logged in!
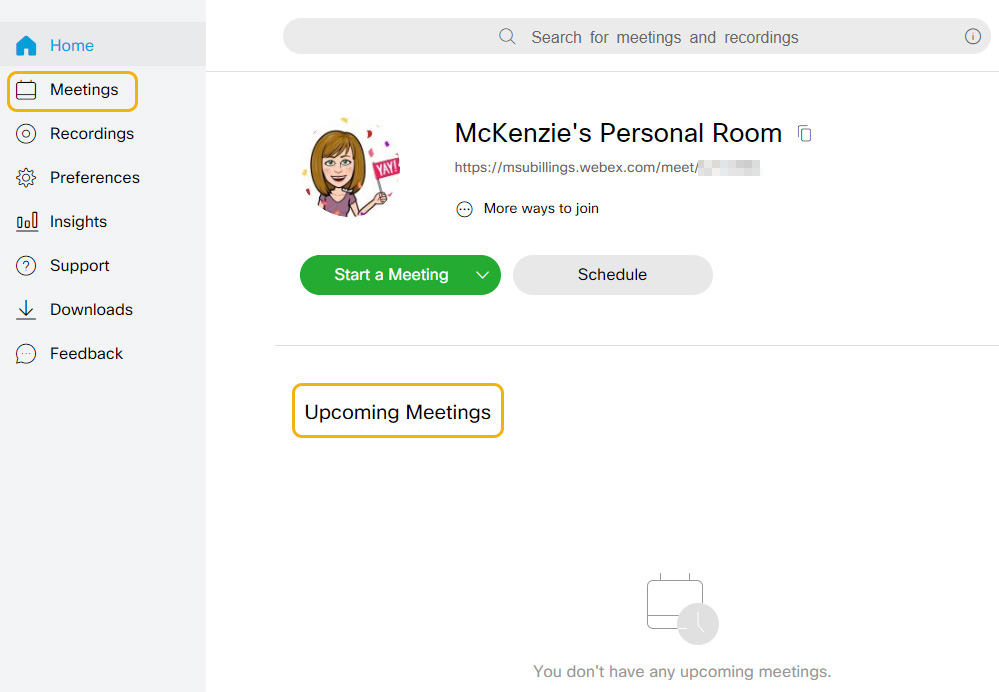
Click on either the link or the Start Meeting button from your list of meetings. This
can be found on your homepage under Upcoming Meetings or by clicking on the Meetings option on the left. Make certain that you are only clicking Start a Meeting for your scheduled meeting, NOT your personal room. As a reminder, personal rooms serve as a quick, temporary meeting space and can result
in confusion if some attendees are in the personal meeting room while others are in
the scheduled meeting. These are two separate meeting spaces!
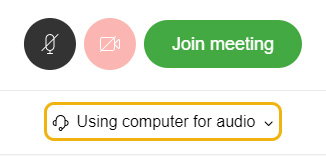
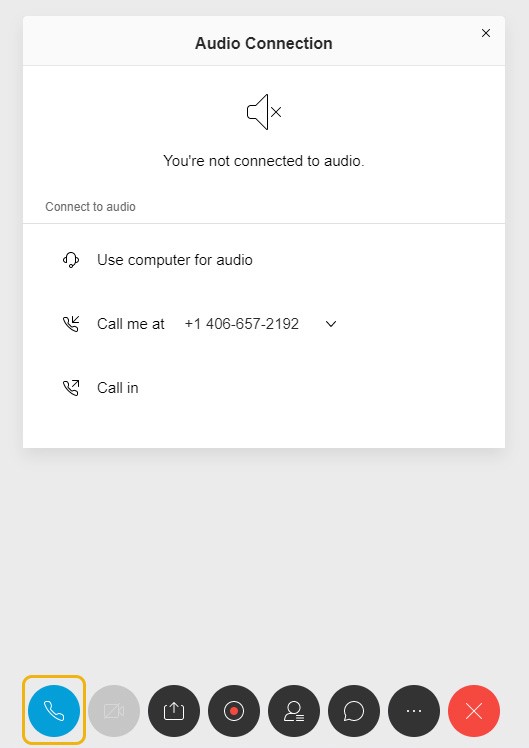
Remember to connect to audio using either the computer or call option.
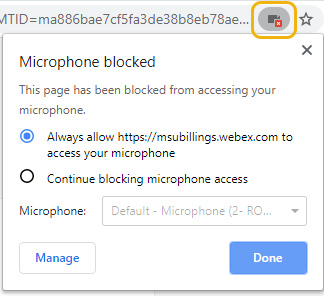
You may have to allow browser access to your microphone.
For all participants, it is recommended that they mute themselves when not addressing
the group. This can be done by toggling the microphone button.
If there is excessive echo, consider lowering your computer or phone volume or using
a headset.
Make sure that you only enter your meeting once. Double-clicking on the link can result
in accidentally joining a meeting twice, first as a host and then as an attendee (the
latter does not have the same permissions).
If this happens, leave the meeting as an attendee, but do not end the meeting as a
host.
Features
The phone button is used to connect to audio. Once you have audio enabled, this will switch to a microphone button which is used to mute yourself.
The camera button is used to turn your video on/off. If you turn your video off, you will still be
able to see others – they just won’t see you.
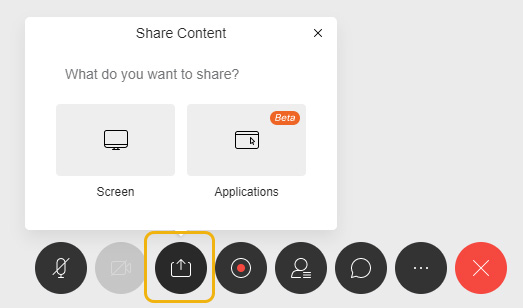
The Share Content button can be used to share your screen or specific content.
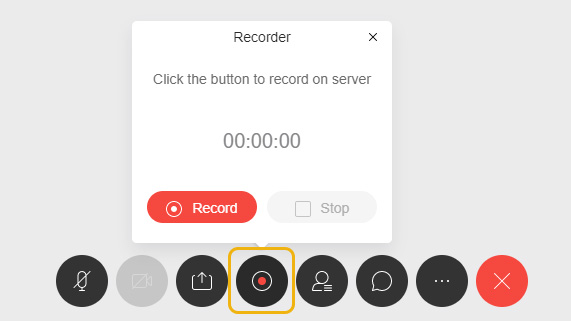
The Recorder button is only visible to the host and can be used to record the meeting.
You can also set your recording to start automatically when scheduling your meeting
under “Advanced Options”.
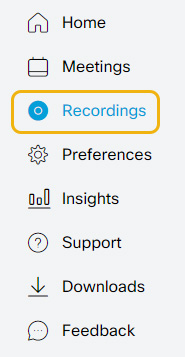
Recordings can be found on the website under the “Recordings” tab where they can be
downloaded, shared, edited, or deleted.
The Participant button allows the host to mute/unmute all participants as well as chat with, mute/unmute,
and change roles for individual participants.
Chat with All allows you to chat with the entire group. This function is not available on the mobile
app at this time.
More options has options for polling (which is only available on the desktop app) as well as advanced
settings for audio and video.
Use the Leave (red X) button to leave the meeting as an attendee or end the meeting as a host.