Webex and D2L
Setup and Overview for Faculty
Using Webex through D2L will allow you to schedule class-related webex meetings directly from the course in D2L. Students can join the meeting directly from the link on content without having to leave the course or log in separately. You can also use it to specify virtual office hours for students to reserve one-on-one time with you.
- Get started by entering your course in D2L and going to Content
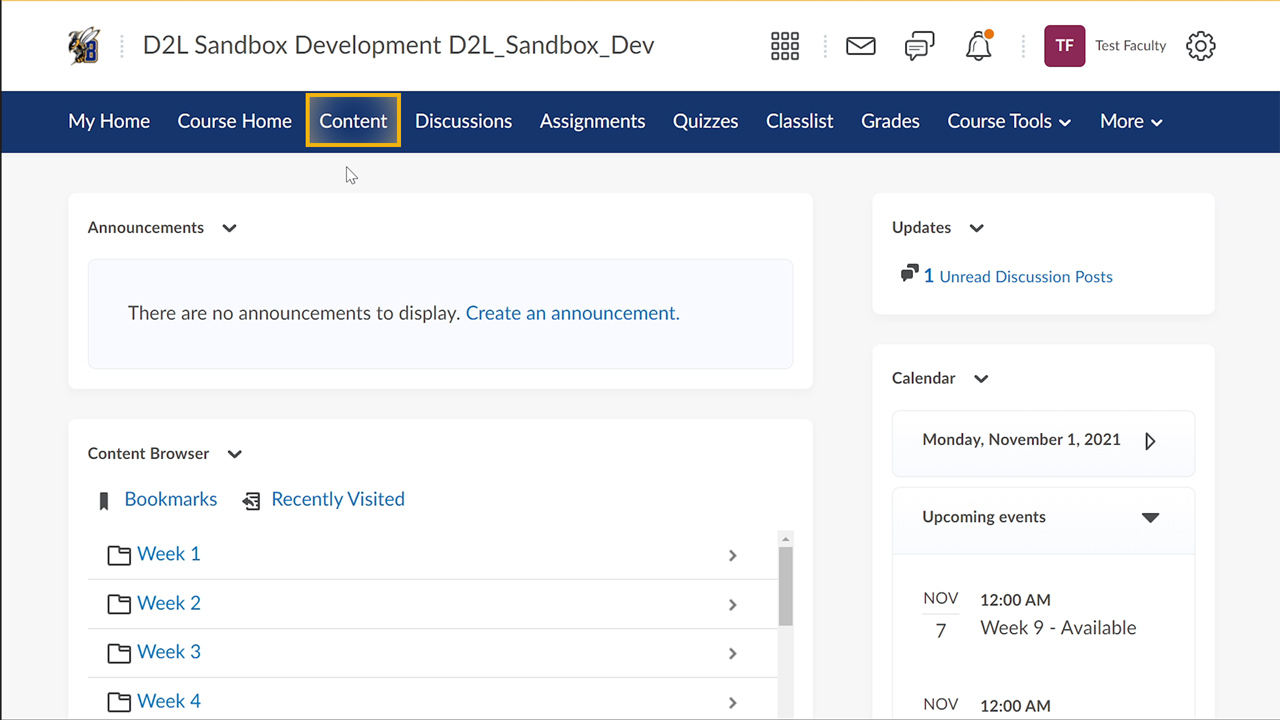
- Select a module that will contain the link for students
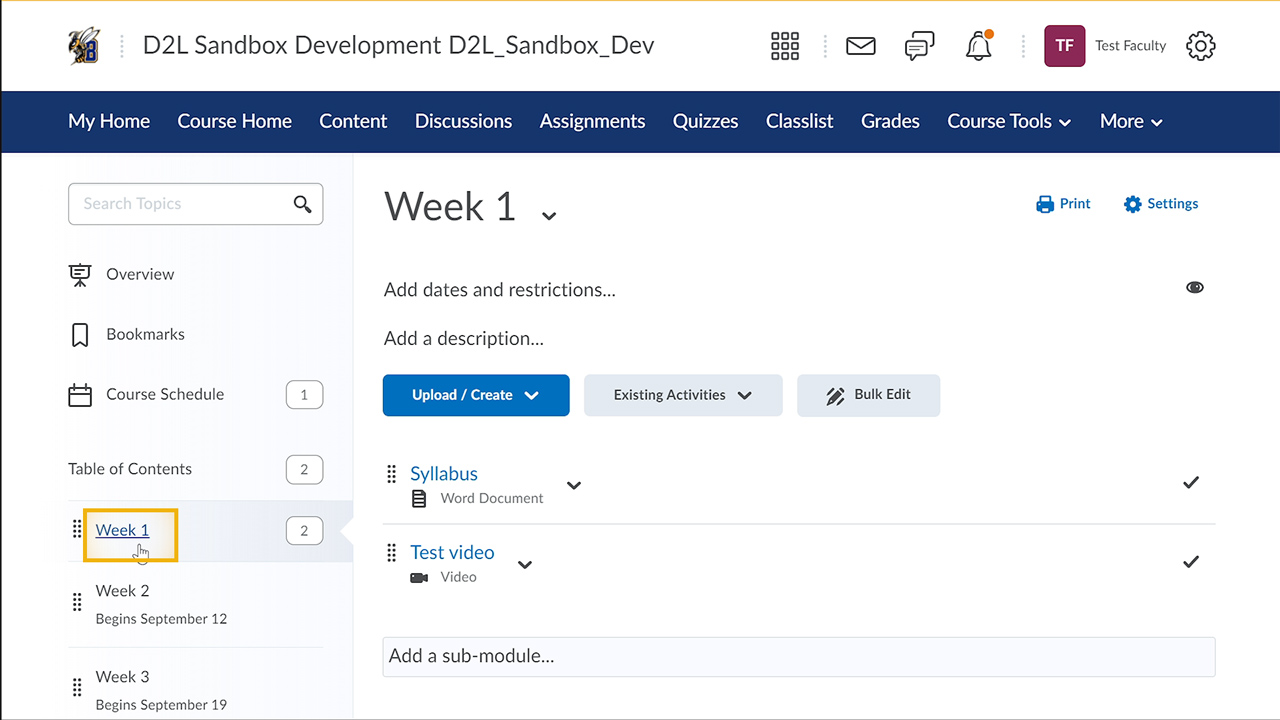
- Go to Existing Activities > External Learning Tools
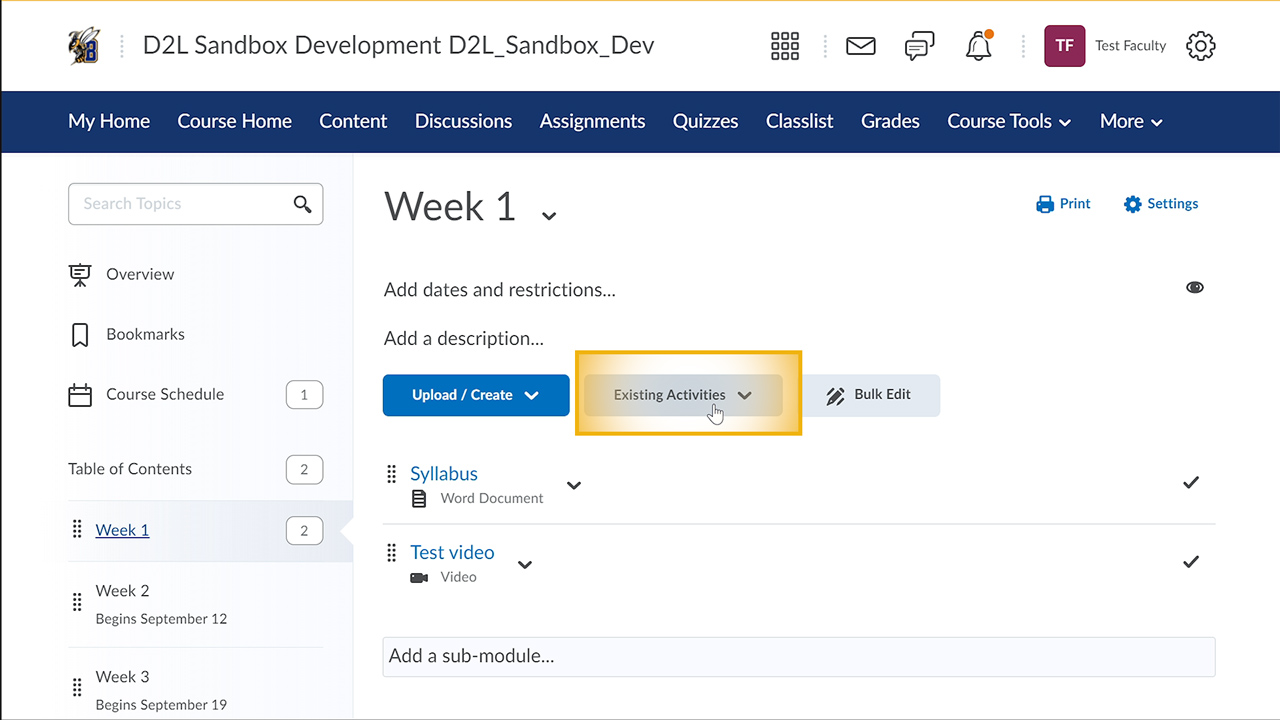
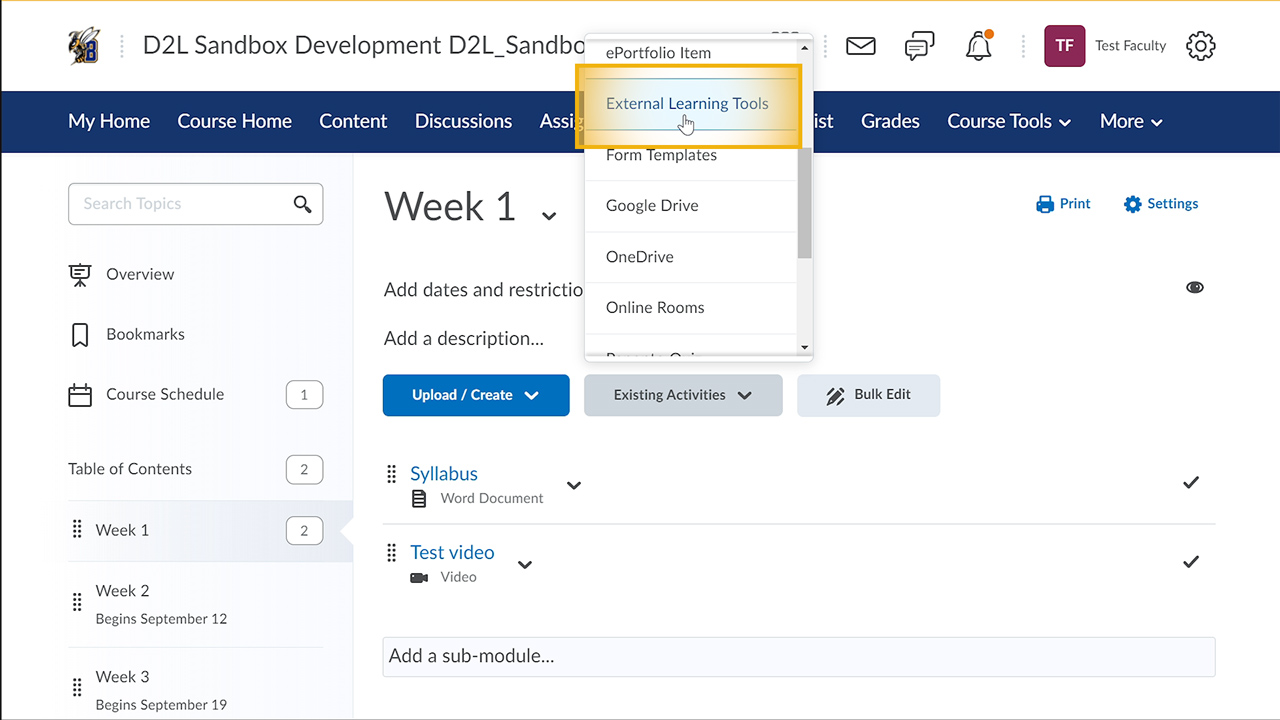
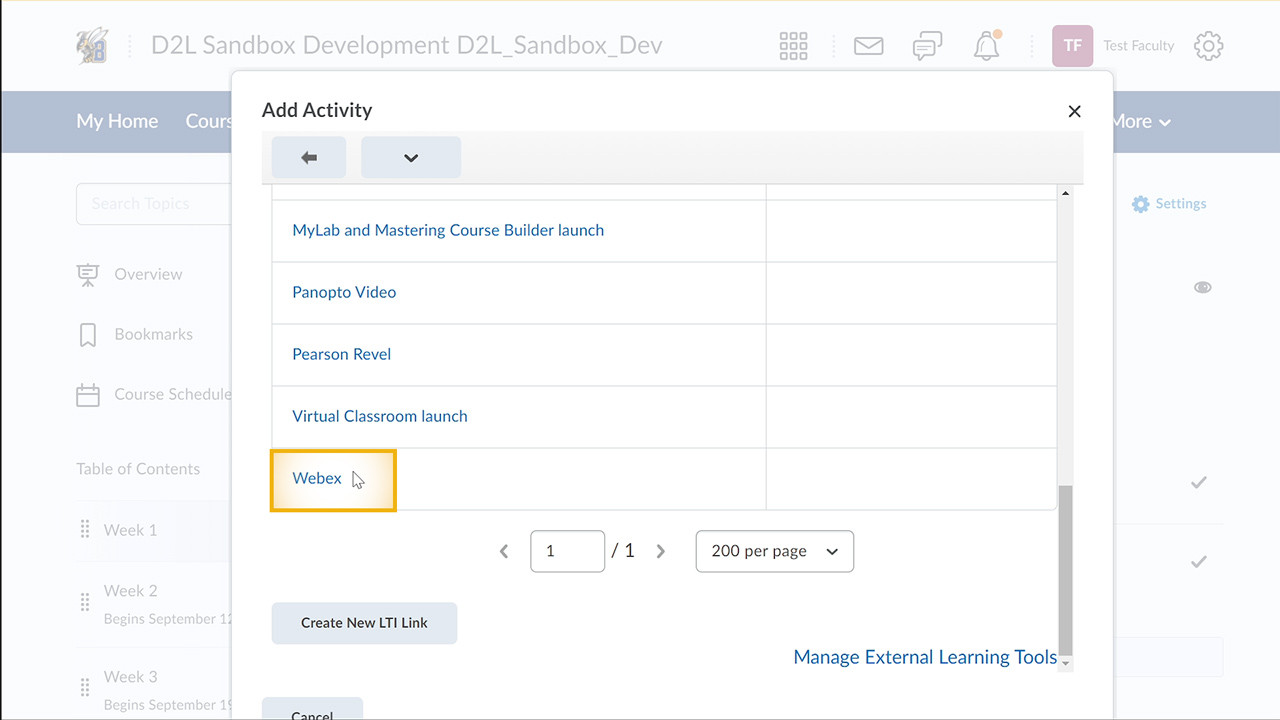
- Choose Webex from the list
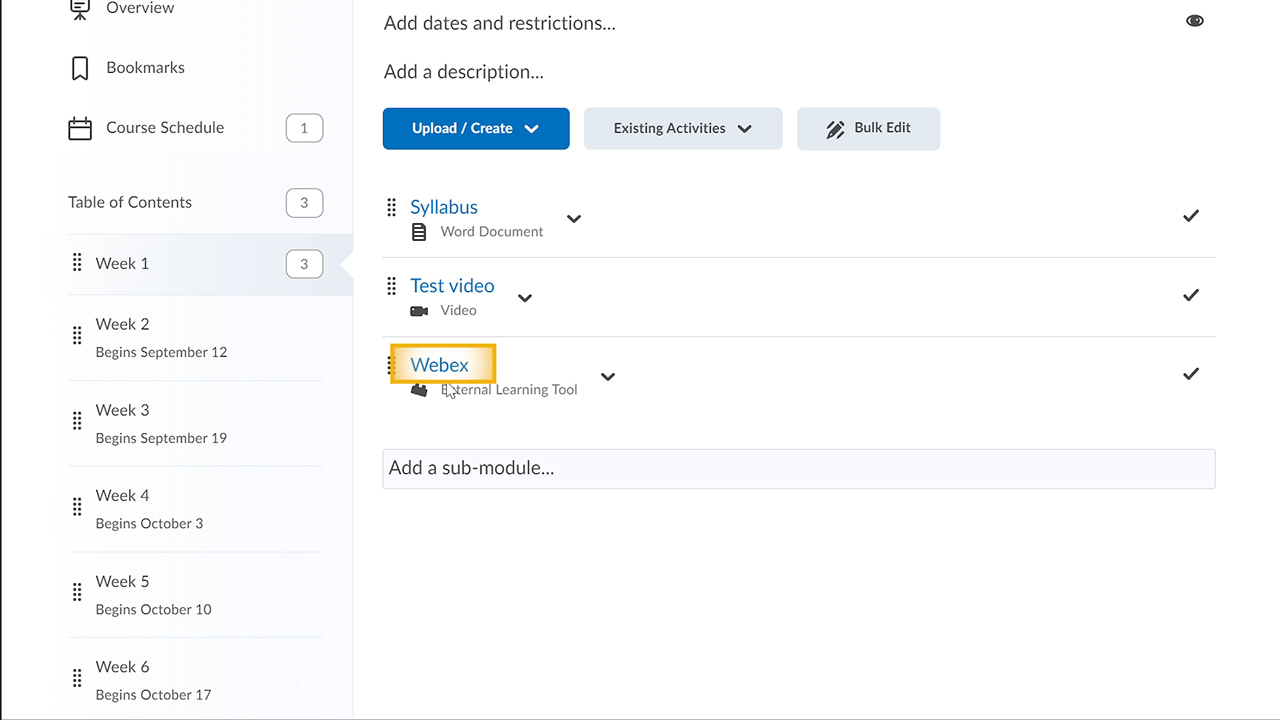
- Click the new link you created for Webex
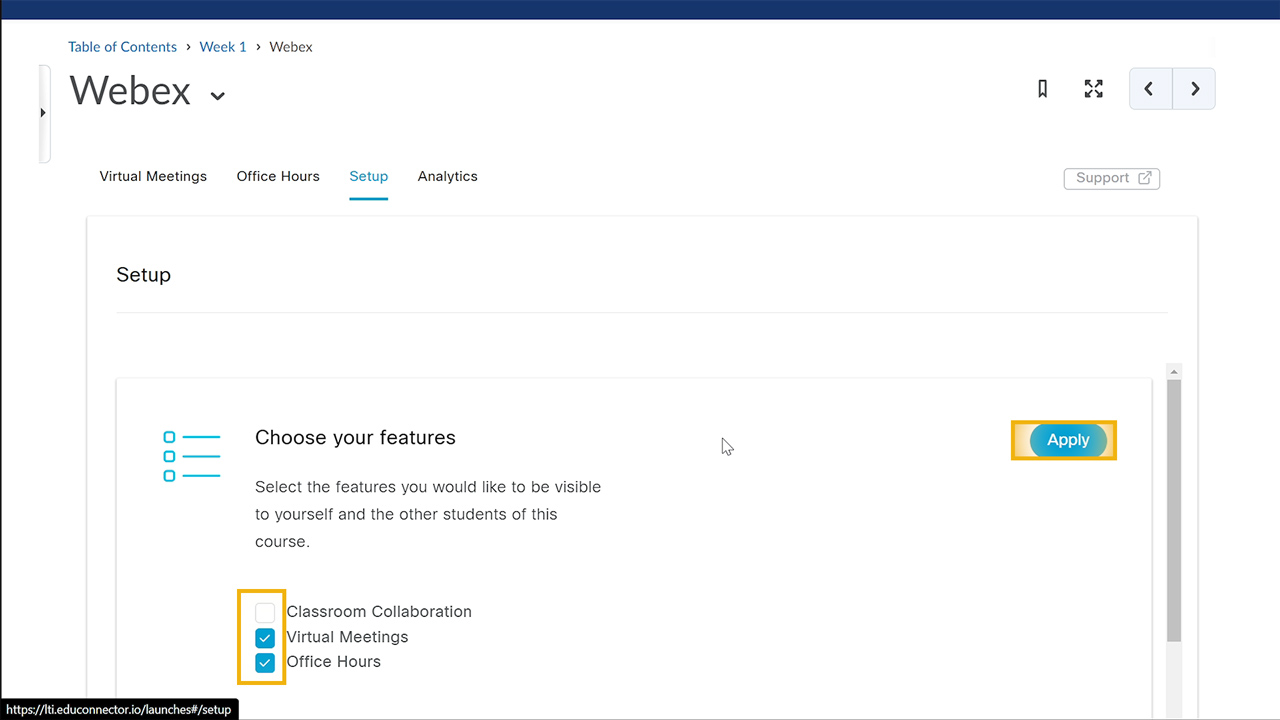
- Go to the third tab, Setup
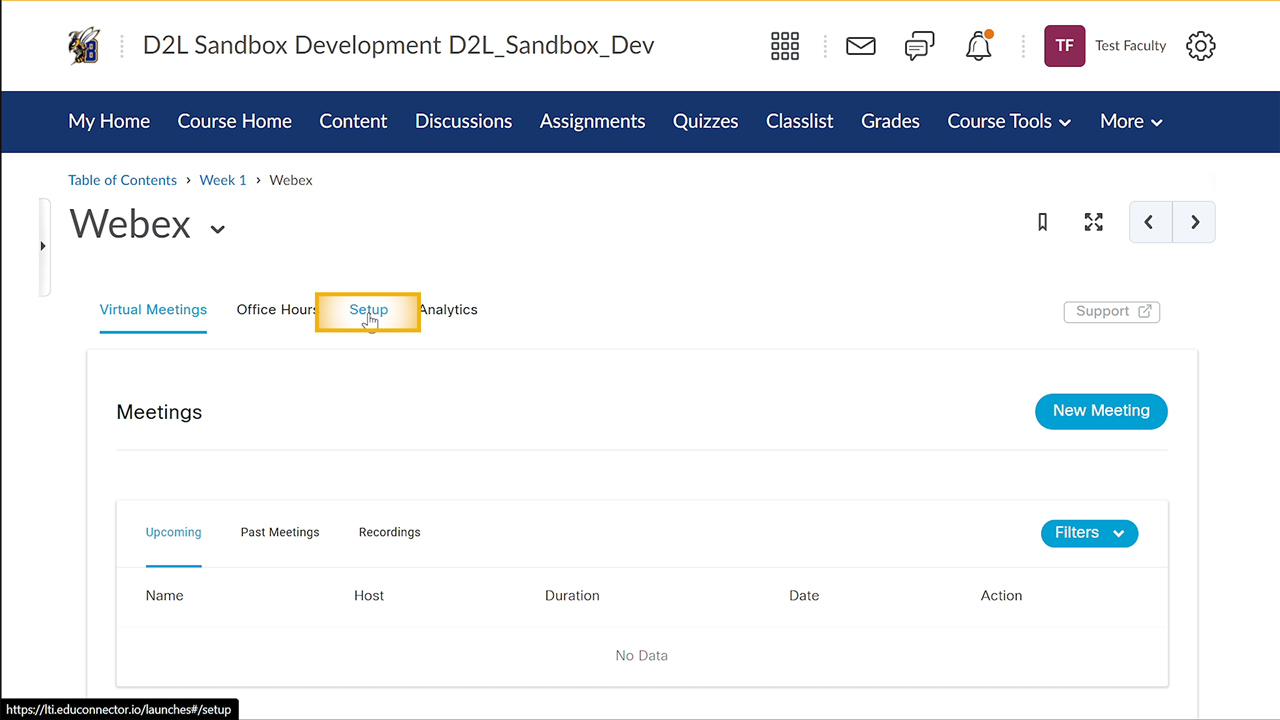
- Choose the Features you want to use in the course and Apply. Most will only need Virtual Meetings, which will allow you to schedule standard Webex meetings that only your class will
see. You do not need to manually invite any participants in your course, they will
see the meetings from the link in Content. Classroom Collaboration will create a persistent
space for the class that will allow participants to share messages, files, and media
directly in the course. Office hours will allow students to reserve time with you
based on time segments you have specified.
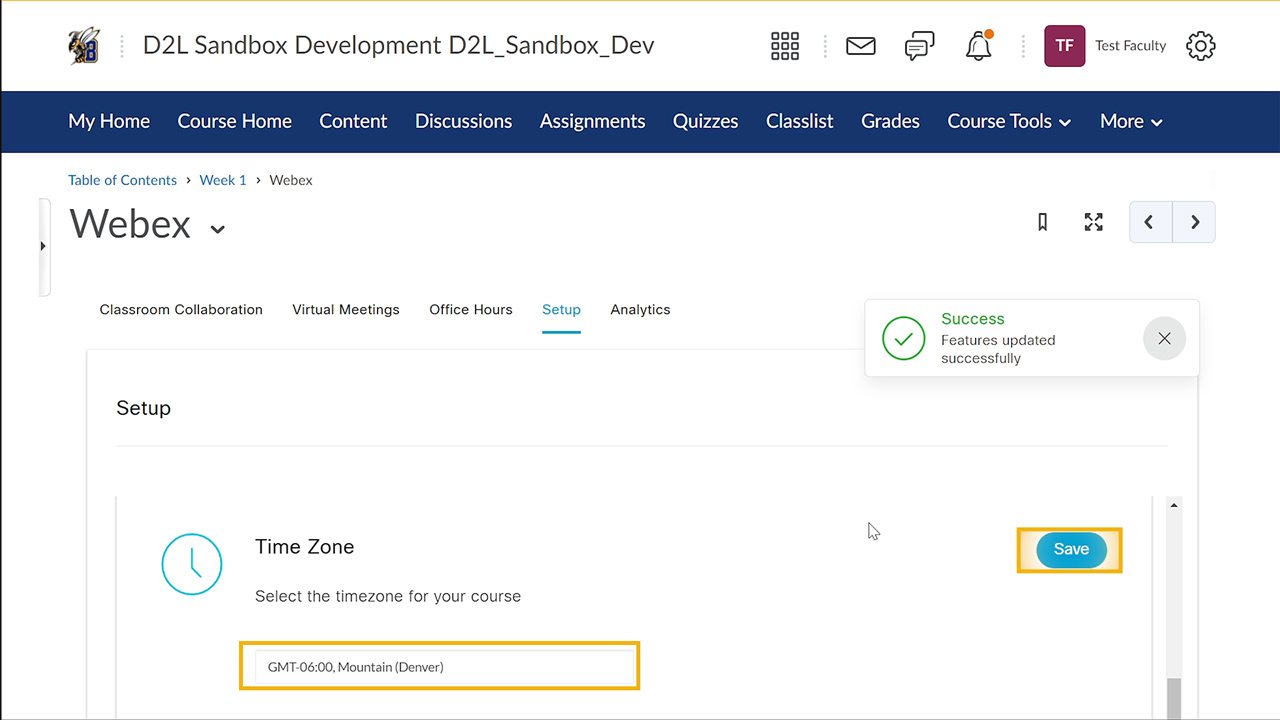
- Scroll down to Select your time zone and hit Save
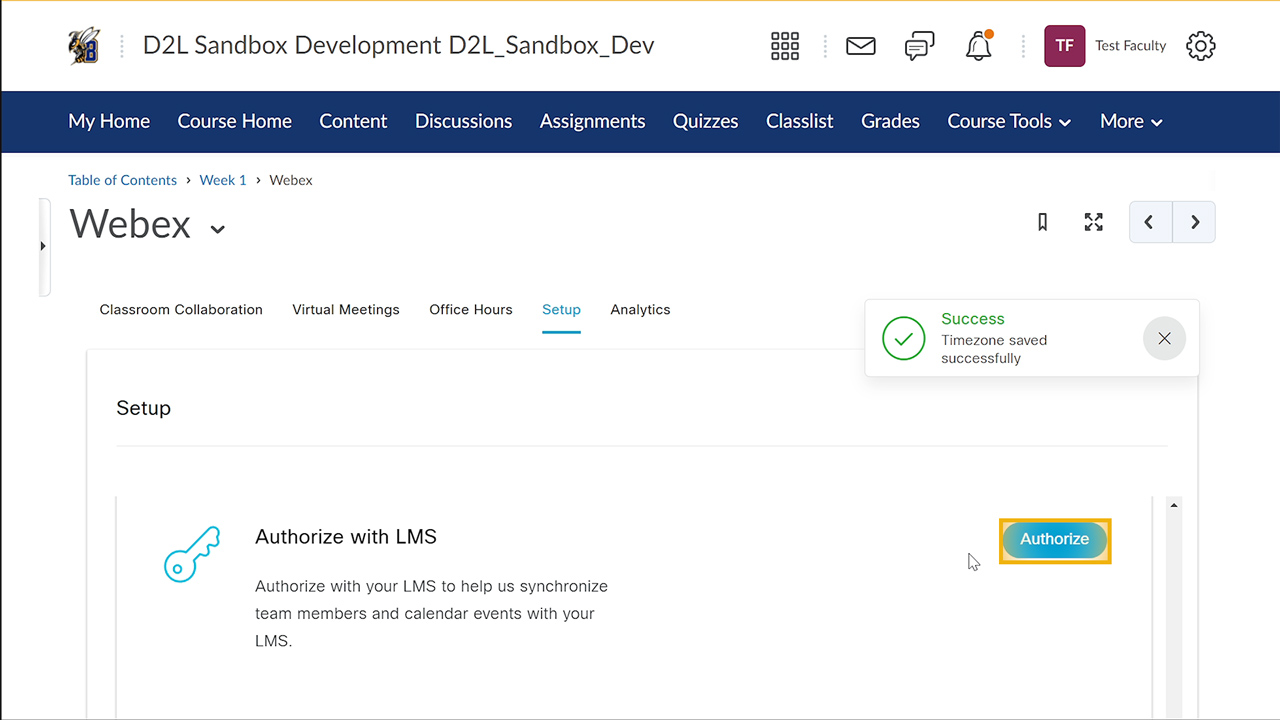
- Scroll down and click Authorize to complete the one-time setup. When prompted to allow the app to operate using your
account, choose Accept. When you return to the Setup screen, the option will now be greyed out and say “Authorized”.
You only need to complete the authorization once for use in any course in D2L.
Meeting Recordings
Posting recordings of your Webex Meetings in D2L gives students the opportunity to watch live class sessions that they may have missed or would like to see again.
- Log into Webex at msubillings.webex.com.
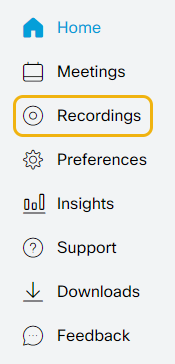
- Go to Recordings on the left side menu (third option down).
- Click the name of the recording you want to put in D2L.
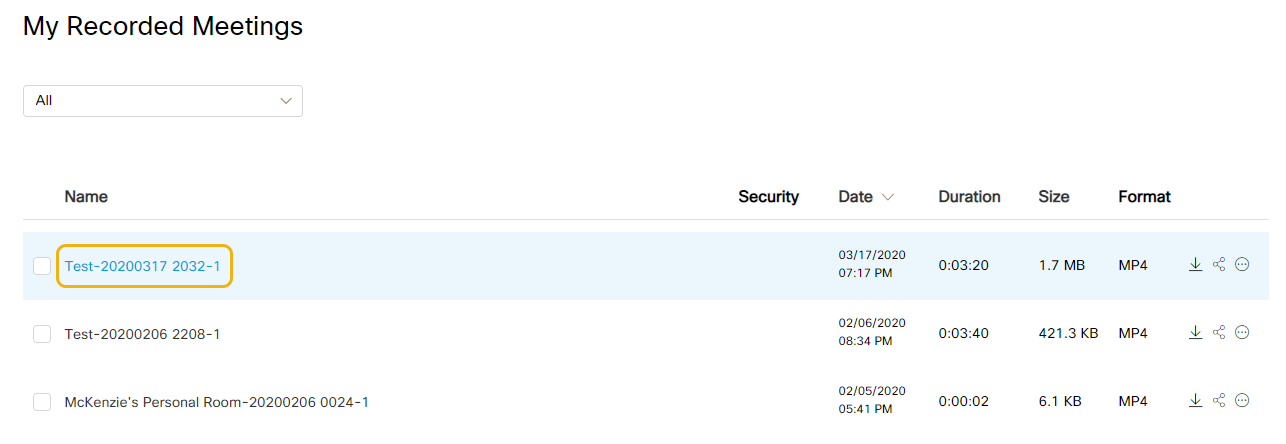
- To the right of the recording title, click Download (first icon to the right) and save the file to your device.

Note: There is also an option to Share recordings via email or link (second icon to the right). We recommend the download option so you can track student progress, however if you choose this route, follow steps 5-8 above for link sharing.
- In your D2L course, go to Content.

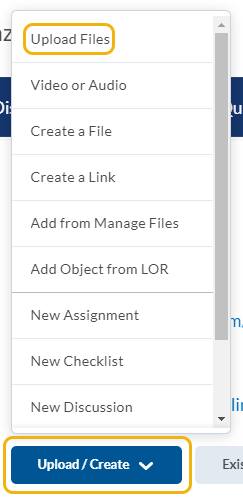
- Click Upload/Create and choose Upload Files.